Shop-made offset screw chucks
Description:
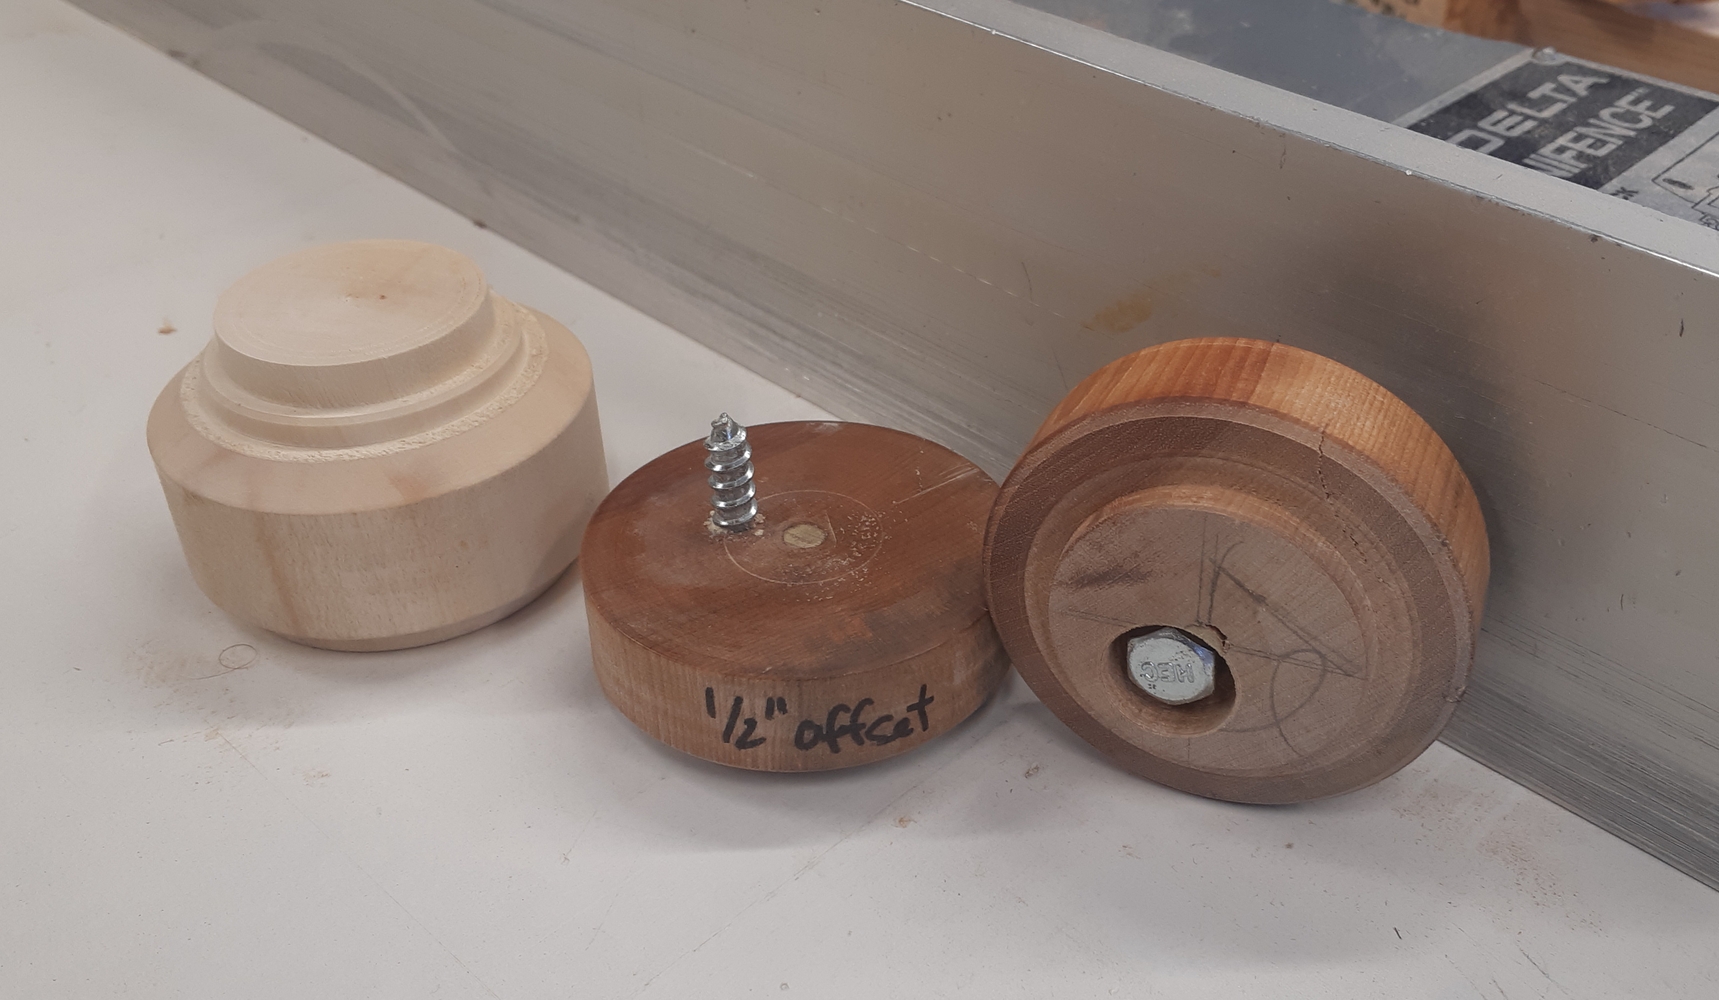
Here is a picture of the screw chucks that I made to turn off-center and one of the associated carrier-blocks/jam chucks. They obviously aren't nearly as robust as commercial units, and are not adjustable, but are easy to make and perfectly serviceable for the small items I turn with them. They are designed to be held in any 4-jaw chuck. I made these from yellow birch, but any hardwood would should work. Mine are about 2 3/4" inches in diameter - that size works, but I wouldn't make them any smaller, especially if your offset will be more than 1/2" or so as the base of the carrier block will start to hang off the side of the screw chuck and won't be fully supported.
I started by facing off both sides being sure that they were both flat and parallel to each other. Then I turned an appropriate sized tenon on the back of the hardwood puck, turned it around and grabbed it in the 4-jaw chuck. I refaced the surface one last time to make sure that the surface was absolutely flat. I marked a circle for the desire offset using a pair of callipers just like one would do to inset a burl. Next I took the puck off the lathe and at the drill press drilled an appropriate sized pilot hole for the lag bolt I had selected to server as the screw in my screw chuck. I was careful to ensure that the hole was drilled on the line I had just marked and perpendicular to the surface. Then flipped the puck over and with a Fostner bit, drill a counter sink around the hole so that the head of the bolt was inside the tenon and would not interfere when the screw chuck is held in the 4-jaw chuck. Finally, I screwed lag bolt in until it bottomed out and protruded from the face by about 7/8". I added some CA to the part of the lag bolt that would remain buried in the chuck to ensure that it does not come loose, but that may not have been completely necessary.
To use the chuck, you will need to prepare a carrier block. I like box elder for these - it is fine grained, easy to work, and is soft enough that it really seams to compress and 'grab' well when used jam chuck. The important thing with the carrier block is that the surface of the tenon be 100% flat and have a perfectly centred hole for the screw chuck. This will be the surface that mates on the screw chuck so accuracy matters. Once the tenon has been created, the face turned flat, and the pilot whole drilled, flip the carrier block over, mount it in your 4-jaw chuck and turn a jam chuck as you normally would. Make sure the fit is very good - you do not want your work piece to come off, or event rotate slightly on your jam chuck once you start turning on the second axis. Finally, mount your screw chuck on your 4-jaw and screw your carrier block onto the lag bolt until it bottoms out and the flat surface of the screw chuck mates tightly with the bottom of the tenon. When your piece is re-mounted on the jam chuck, it will be rotating on the offset axis.
If this is the first time that the carrier block has been used, I normally take a second to re-enforce the threads by removing the carrier block and dribbling some thin CA into hole and while rotating the carrier block to ensure complete coverage. A quick shot of accelerator to make sure that the CA is cured, and you should be able to re-mount the carrier block and feel it seat firmly on the screw chuck. Re-enforcing the threads with CA really tightens up the fit and makes it repeatable.
Dimensions: 35 mm high x 70 mm wide
Weight: 50 g
Date Created: Dec. 27, 2018
Status:
Project Type: Miscellaneous
Tags: offset
Materials: